
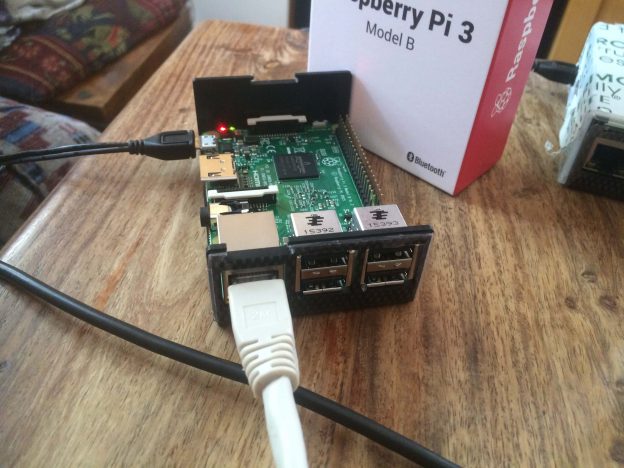
- Connect the Raspberry to an existing local area network by cable.
– I used the Ubuntu “Shared to other computers”-Network manager Setting to bridge my eth0 to my wlan0 connection providing internet access. - Connect via ssh to this device
– username: pi
– password: raspberry
– usually you don’t now the ip of the device use nmap 10.42.0.0/24 -p 22 to search for open ssh devices - Scan for local wifi networks:
sudo iwlist wlan0 scan sudo nano /etc/wpa_supplicant/wpa_supplicant.conf and add your wifi connection data:
network={ ssid="networkname" psk="password42!" }- restart the wifi and bring it to connection sudo ifdown wlan0 && sudo ifup wlan0
- Get the latest software status lists: sudo apt-get update
- Update all installed software: sudo apt-get upgrade -y
- Install common software to harden the system:
sudo apt-get install x11vnc htop bmon fail2ban vnstat ufw
– x11vnc: nice tool to use VNC connections on the main x session
– htop: visualizes processes and load in color
– bmon: visualizes network traffic
– fail2ban: handles bruteforce attacks by banning Ips for a certain amount of time
– vnstat: counts network traffic over time
– ufw: makes it easier to handle ipables and configure your firewall - Start the Raspberry Pi 3 Configuration Programm: raspi-config
– expand file system to match your sd card size
– set hostname in advanced settings - enjoy your new Raspberry Pi 3 \o/
-
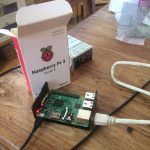
- Raspberry Pi 3 Model B+
-
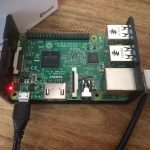
- Raspberry Pi 3 Model B+
-
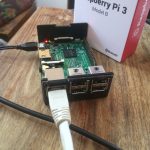
- Raspberry Pi 3 Model B+ 4 USB Ports