The M3D Software is windows only, which causes a lot of wasted power by running a windows machine all time. After several and some successful attempts of running this software on a virtual machine inside my Linux, I figured out a much more easy way to print from a Raspberry Pi. It’s called Octoprint, but on an armhf basis requires a bit attention. In combination with the M33-Fio Plugin its serving perfectly as a printing server for the M3D-Micro I own.
Setting up your Raspberry Pi 3
To save me and you some time in future, I share the step by step code to set up an Raspberry Pi 3 with Octoprint from scratch. (even if there is an image down-loadable from Octroprint Website)
#allow pi user to communicate with printer via tty
sudo usermod -a -G tty pi
sudo usermod -a -G dialout pi

#install cura slicing engine by compiling it from source
cd ~
sudo apt-get install -y python-wxgtk2.8 python-numpy
git clone https://github.com/daid/Cura.git
cd Cura
#installing the requirements of Cura
sudo pip install -r requirements.txt
mkdir CuraEngine
cd CuraEngine
wget -OCuraEngine http://octoprint.org/files/octopi/cura_engine_14.12/cura_engine
chmod +x CuraEngine
cd ..
{ echo '#!/bin/sh'; echo 'PYTHONPATH=. python2 -m Cura.cura "$@"'; } > cura.sh
#also if we don't use the wrapper, we still make it executable
chmod +x cura.sh

#install octoprint
cd ~
sudo apt-get install -y python-pip python-dev python-setuptools python-virtualenv git libyaml-dev build-essential
git clone https://github.com/foosel/OctoPrint.git
cd OctoPrint
virtualenv venv
./venv/bin/pip install pip --upgrade
./venv/bin/python setup.py install
#install the requirements
sudo pip install -r requirements.txt
#install the m3d (or m33) fio plugin
sudo /usr/bin/pip install https://github.com/donovan6000/M33-Fio/archive/master.zip
mkdir ~/.octoprint
ufw allow 5000
./run
Start using Octoprint in browser
Start your browser at 127.0.0.1:5000 (or the ip of your rasbperry) and config Octoprint further:
-

- Octoprint – M33-Fio – Raspberry Pi – set password protection
-
- Octoprint – M33-Fio – Raspberry Pi – login the first time
-
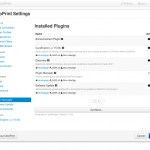
- Octoprint – M33-Fio – Raspberry Pi – navigate to the settings and the plugins panel
-
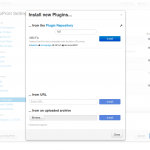
- Octoprint – M33-Fio – Raspberry Pi – if you can’t see the m33-fio plugin, install it right here
-

- Octoprint – M33-Fio – Raspberry Pi – set up the slicing path like shown in the image
-
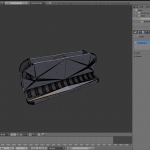
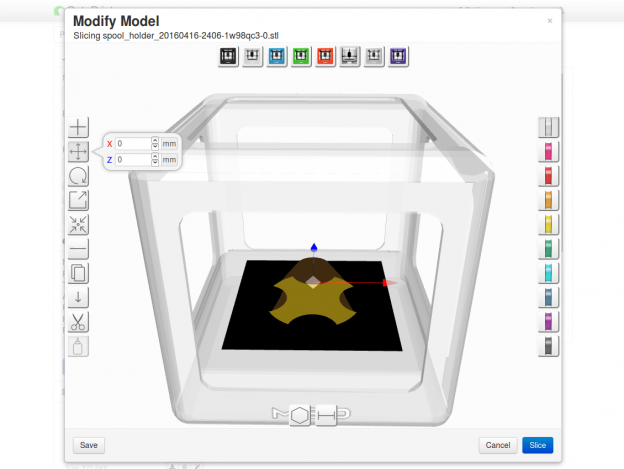
- Octoprint – M33-Fio – Raspberry Pi – upload an stl and start slicing
-
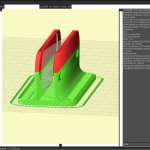
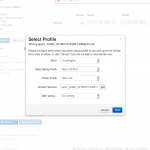
- Octoprint – M33-Fio – Raspberry Pi – select slicing parameters
-
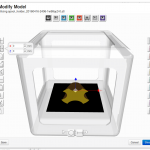
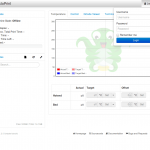
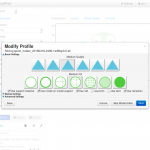
- Octoprint – M33-Fio – Raspberry Pi – select positions on the print bed
-

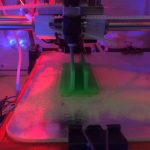
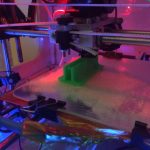
- Octoprint – M33-Fio – Raspberry Pi – start printing
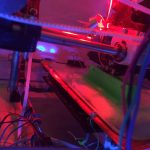
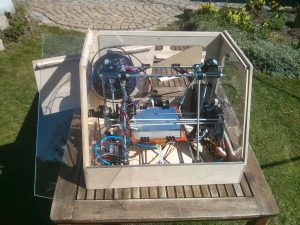
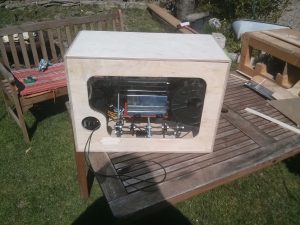
Happy printing! With this combination of 3-5 Watt Raspberry Pi, and a maximum 20W M3D you can run the printer 24/7 without wasting more than a light bulb amount of power 🙂
Links: