
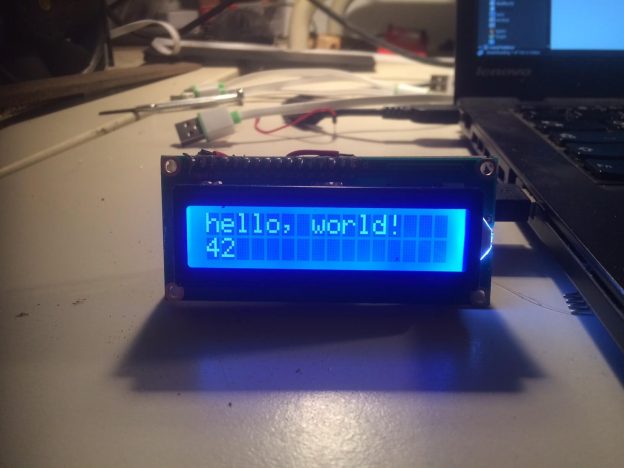
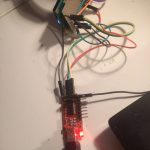
As planned, I now built and esp8266 version of the display. Because the breadboard version was working quite well from the start, I decided to build a more permanent version. The 5V of the USB Cable (or any other 5V Source) gets stepped down by a LM2596 circuit in a Fp6190 I purchased some time ago. This is a quite cheap and energy efficient solution. The complete setup requires about 70mA at 5Vs. This surely can be optimized by dimming the brightness of the display. In case you want to build your own wifi LiquidCrystal-Display esp8266 use the details provided below and check the code on Github. Happy hacking!
Parts List
- 2,00€ ESP8266 12-Q
- 2,00€ Fp6190 5V to 3.3V step down converter
- 1,50€ LiquidCrystal-Display Blue
- 1.6kOhm resistor or 10k potentiometer
- prototyping board
- cables
- pins
-
- ESP8266Liquid
-
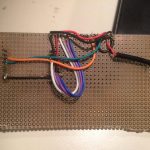
- ESP8266 Liquid Display: Wiring quite similar to Arduino
-
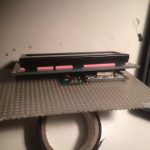
- ESP8266 Liquid Display: Hiding everything behind display
-
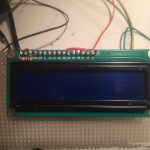
- ESP8266 Liquid Display: the Display front
-
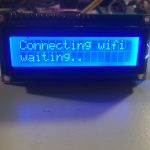
- ESP8266 Liquid Display: Connecting to Wifi
-
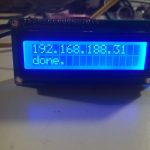
- ESP8266 Liquid Display: Successful Connection
-
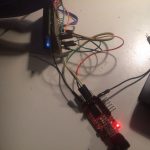
- ESP8266 Liquid Display: while programming top
-
- ESP8266 Liquid Display: while programming
-
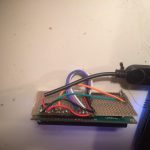
- ESP8266 Liquid Display: from behind, shortend prototyping board
Wiring
 LCD    -> ESP8266 12-Q
 following pinmap http://arduino.esp8266.com/versions/1.6.5-1160-gef26c5f/doc/esp12.png
  --------------------------
  1|VSS| -> USB GND
  2|VDD| -> USB 5V +5v
  3|VO | -> USB GND pin + 1,6k ohm Resistor
  4|RS | -> ESP2866  pin 4
  5|RW | -> ESP2866 GND
  6|E  | -> ESP2866 pin 5
 11|D4 | -> ESP2866 pin 13
 12|D5 | -> ESP2866 pin 12
 13|D6 | -> ESP2866 pin 14
 14|D7 | -> ESP2866 pin 16
 15|A  | -> GND + no or a below 10k Resistor  to dimm background light (Backlight power)
 16|K  | -> USB GND (Backlight ground)
Code
This time on GitHub.