Category Archives: Uncategorized

Parsoid 0.9.0 update brings 406 Not Acceptable docserver error in VisualEditor REL_30 on Mediawiki 1.30

Some of my mediawiki instances broke when editing a page with VisualEditor on REL_30 today bringing HTTP 416 Errors related to Parsoid.

Strangely this error only occured when editing  existing pages, simplyfied as curl below:

curl "http://NAME_OF_WIKI_HERE/api.php?action=visualeditor&format=json&paction=parse&page=Main_Page&uselang=en"


{"error":{"code":"apierror-visualeditor-docserver-http","info":"HTTP 406","*":"See http://NAME_OF_WIKI_HERE/api.php for API usage. Subscribe to the mediawiki-api-announce mailing list at <https://lists.wikimedia.org/mailman/listinfo/mediawiki-api-announce> for notice of API deprecations and breaking changes."}}%

After a while I found that parsoid announced the behavoiur on there github rep:

This release requires clients (VE, etc.) to return a 1.6.0 and greater HTML version string in the header. If not, Parsoid will return a HTTP 406. This can be fixed by updating VE (or relevant clients) to a more recent version.

Unfortunately I used their .deb repository  releases.wikipedia.org which didn’t provide the 0.8.0 package for reverting the update. And since I’ve already updated  -marking it on hold in apt was no longer an option.

After reading a bit through the source code the solution I found until the next mediawiki stable versions arrives can be followed by editing the

lib/config/ParsoidConfig.js

and switch this line:

ParsoidConfig.prototype.strictAcceptCheck = true;

to that

ParsoidConfig.prototype.strictAcceptCheck = false; //true;

It’s not pretty, but for now it solved my issues.

Robot Thoughts

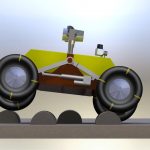
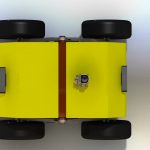
Friends of mine and myself met and discussed an advanced robot design. Here some impressions:


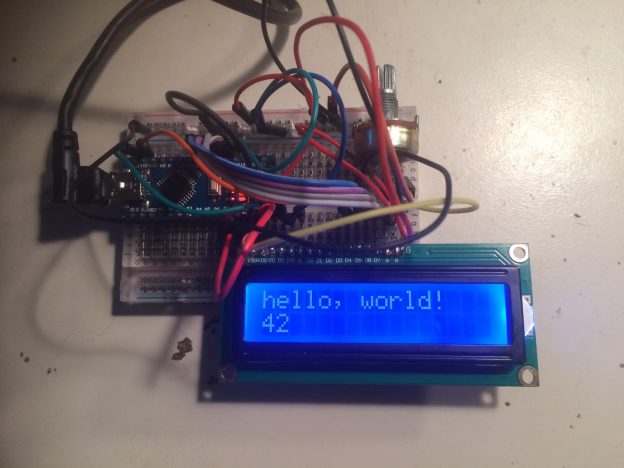
Smart Electronics LCD Module Display Monitor 1602 5V Blue

LiquidCrystal-Display blue 1602 Arduino Nano

I recently bought several “Smart Electronics LCD Module Display Monitor 1602 5V Blue” for building a wifi alarm clock. It uses the very common Hitachi HD44780 driver. To verify if they are working I followed this well described tutorial on arduino.cc and used a arduino nano for that. Removing the 10k ohms resistor, because it dimmed the LED background light way to much and after adjusting the potentiometer to about 1,64k ohms the visibility of desired output was optimal.

For the sake of documentation the:

Wiring

 LCD    -> Arduino
  --------------------------
  1|VSS| -> Arduino GND
  2|VDD| -> Arduino +5v
  3|VO | -> Arduino GND pin + 1,6k ohm Resistor or Potentiometer
  4|RS | -> Arduino pin 12
  5|RW | -> Arduino GND - pin can be conected to 11. But Ground was used here.
  6|E  | -> Arduino pin 11
 11|D4 | -> Arduino pin 5
 12|D5 | -> Arduino pin 4
 13|D6 | -> Arduino pin 3
 14|D7 | -> Arduino pin 2
 15|A  | -> GND + no or a below 10k Resistor  to dimm background light (Backlight power)
 16|K  | -> Arduino GND (Backlight ground)

Code

#include <LiquidCrystal.h>

// initialize the library with the numbers of the interface pins
LiquidCrystal lcd(12, 11, 5, 4, 3, 2);

void setup() {
  lcd.display();
  // set up the LCD's number of columns and rows:
  lcd.begin(16, 2);

  lcd.print("hello, world!");
}

void loop() {
  // set the cursor to column 0, line 1 (second row)
  lcd.setCursor(0, 1);
  // print the number of seconds since reset:
  lcd.print(millis() / 1000);
}

The next step is to connect it to an esp8266 and figuring out if the new 3.3V signal strength will be enough. A possible solution would be to use the esp8266 only as a communication device.

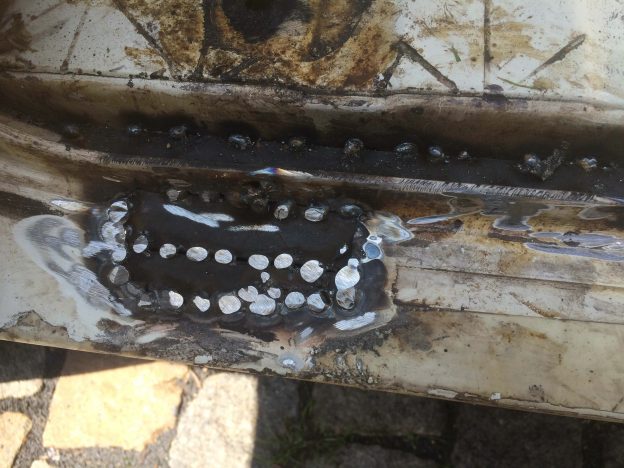
VW T4 Project – War against Rust – Battle V – Sill Part Two - welded sill

VW T4 Project – War against Rust – Battle V – Sill Part Two

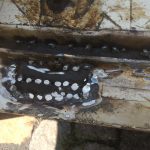
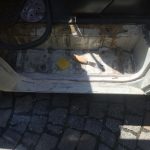
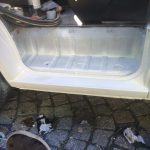
As I learned recently stick electrodes are not suitable for welding thin sheet metal of a cars body shell. The electrodes tend to burn holes instead of welding anything together. Unfortunately, all other welding techniques like MAG,MIG, WIG (TIG) welding, require expensive hardware and some degree of education.  After some research I found a rent-able workshop including hydraulic lifts, all kinds of tools and MAG-Welding equipment for 8€ an hour. After some practice welding on small pieces of steel, I felt confident enough to start handling the spots i prepared as described in part one:

To improve the durability of the inner surfaces I used a new rust converter called fertan. As research has shown it is used by a lot of  car restaurateur workshops and is quite effective protecting the metal from new rust by creating an  protective coat. After 24 hours of letting it dry I additionally added another new  rust preventing oil: Owatrol. It’s a synthetic resin based oil able to prevent rust to grow by cutting it off from water and air. By that, the spot should hold 2-3 years without replacing the complete sill.

First welding experiences!

I could manage to buy a cheap welding helmet with automated darkening feature! I already owned a cheap welding electrodes setup an therefore was allowed to take some training welding today:

IMG_0881

First welding experiences – top

IMG_0883

First welding experiences – bottom

IMG_0882

First welding experiences – top 3

This small welding worms are really not worth mentioning in a welding context, but for me, this is a real achievment of working with metal. With that ability I’ll soon be able to fix the sill issue on the front left door 🙂

ROS Basics – ROS Transformations

One of the most important packages a ROS robot should implement is TF (Transformations), because it enables the robot to keep track of multiple coordinate systems (frames) and their relations between each other over time. Following the ROS Enhancement Proposal s (REPs) especially REP105 the most global frame should be the world frame. Every other frame derives from it in a tree structure and can be transformed back into world coordinates by using the same units of measurement defined in REP103.

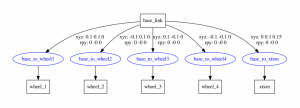
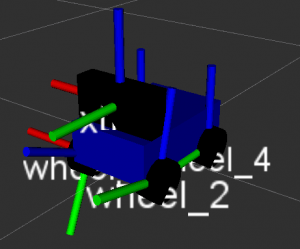
Another important frame tree is the robot itself. Starting with a mobile base_link further attached elements called links like wheels or cameras have their own frame and are connected via relations, also called joints. Those joints can be static or dynamic. A sample configuration can be seen in the following images:

To define a robot, ROS offers a special XML description file using the Unified Robot Description Format (URDF) which is further improved by special markups and an additional interpreter called XML Macros (XACRO). In ROS, all not time-related relations can be defined in a single file and can be published periodically by the robot_state_publisher for example for simulation purposes. In advanced setups, publishing the robots joint states and especially the relation of the base_link is a complex task. Therefore it gets divided into separate processes like navigation, mapping or the hardware controllers.
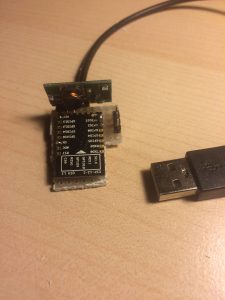
esp8266 ws2812b hostname triggered wifi light

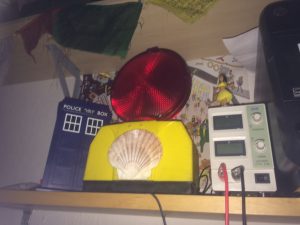
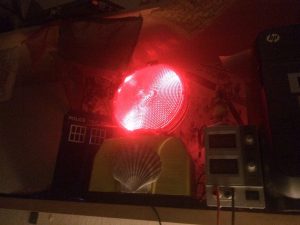
Today I built a small wifi light which rotates in case a certain hostname (my smartphone) is in the local wifi. As these devices tend not to answer to ping or arp requests, and bonjour or mDNS where to slow, I crawl my dhcp server every five to ten seconds. Additionally i decreased the lease time of the dhcp to  improve the switch off response time. As my smartphone usually logs into my wifi instantly when I enter the house it’s usually switches on before the main door has been opened.
The interior of the lamp consists of seventeen ws2812b rgb leds which I controlled in an intermediate stage with the esp2866 opc code on github. As this would have required a constant network packages flow and a device delivering the UDP packages, I later on switched over to control the led animation by the esp8266.

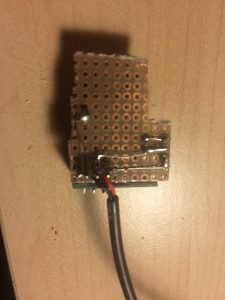
Something I discovered today is that soldering the 2mm grid esp8266 upside down onto a 2.54 grid prototyping circuit board improves handling and speed, as well as the size of the final circuit.  You also can see the pin map information on the final product, which is nice.

After putting some hot glue on the board to prevent shorts and improve lifetime, I took some measurements regarding current consumption: about 0,1Amps at 5V, which should result to 0.5W with a constant rotating light and wifi crawling. This makes the device capable to be run on most USB power providers. The final result looks like this in action:

Youtube

As the code is very specific and dependent on my local setup, I will not post it on github this time. Just one thing I would have found really helpful to find in the internet while I was struggling with a constantly without information resetting esp8266 would have been this:

Howto grab and parse a HTTP.Auth protected website with the esp8266 as a client:

bool getPage() {
  bool foundHost = false;

  WiFiClient client; //initialising the client globally leads to crashes

  if (client.connect(http_site, 80)) { //the more common version !client.connect() crashes 

    // We now create a URI for the request
    String url = "/dhcp";
    
    // This will send the request to the server
    client.print(String("GET ") + url + " HTTP/1.1\r\n" +
                 "Host: " + http_site + "\r\n" +
                 "Authorization: Basic YWRTeW4kYWRmaW4=\r\n" + //this is Http.Auth as a Client (Base 64)
                 "Connection: close\r\n\r\n");
    delay(500); // you'll need to wait until repsonse
    String line = "";
    // Read all the lines of the reply from server and print them to Serial
    while (client.available()) {
      line = client.readStringUntil('\r');
      //Serial.print(line);
      if (line.indexOf(hostname) != -1) {
        foundHost = true;
        break;
      }
    }
  } else {
    Serial.println("connection failed");
  }
}

In conclusion, this was a nice little project I really enjoyed doing in a sleepless night 🙂 And with about 10€ plus the lamp I got as a gift a long time ago, not that expensive.

HC-SR04 rosserial range publisher

I tried to re-implement my hc-sr04 rosserial setup which i described here and couldn’t find the source of this attempt.  I therefore redid it and now sharing the results.

The simple wiring setup:

wiringThe output on rviz:

rviz_outputand new the source on github.

You can start the publisher with:

rosrun rosserial_python serial_node.py /dev/ttyUSB0