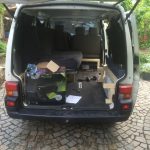
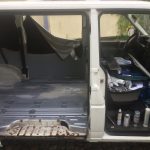
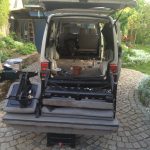
To supplement my electronic needs like running my laptop during my journeys I recently added an secondary battery to my VW T4 Project. There a several ways to connect the second battery like wiring it in parallel to the main battery, charging it separately by socket, using an solar panel with charging controller or the way I decided to do: using an uncouple relay to load the battery only while the generator of the motor is running. To realize this, a decouple relay and a trigger signal is required. Also some fuses and really big diameter cables are needed to prevent voltage losses and avoid overheating while transporting drect current two or three meters through the car.

decoupling relay scheme
Charging
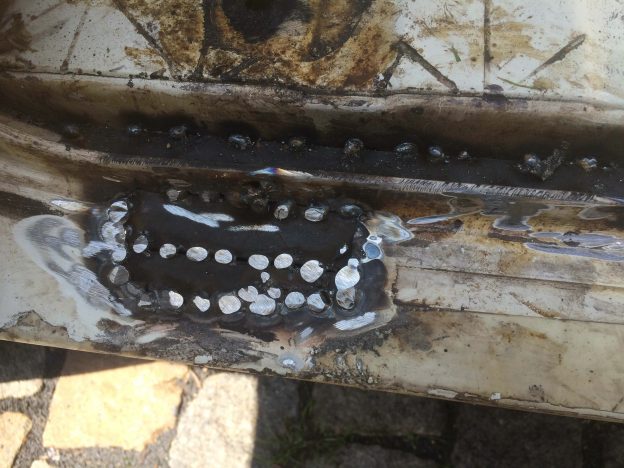
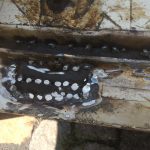
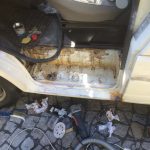
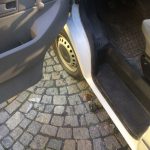
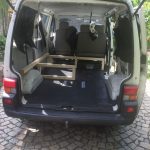
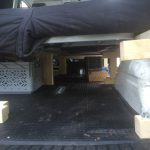
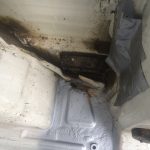
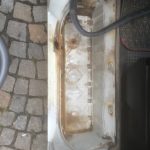
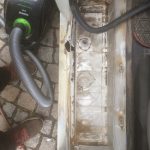
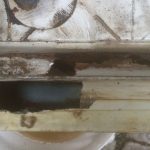
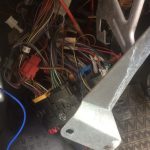
The main wiring is hidden beneath the drivers seat, here you can see the relay and one of the 40Amps fuses.

VW T4 Project – secondary battery – uncouple relay beneath the driver seat
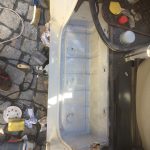
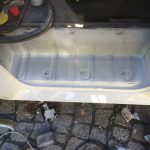
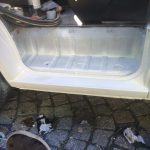
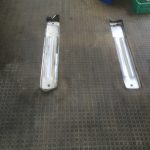
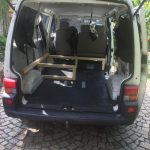
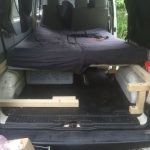
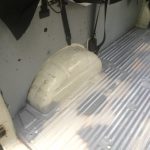
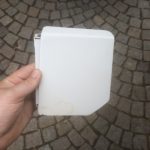
The battery itself is located in a wooden construction directly under the drivers seat. It is an absorbent glass mat model, which is capable of being loaded 5 times faster than regular car batteries without loosing current level over time. Furthermore it is well suitable for a solar setup. Deep discharging (or lets say below half capacity measurable at 12.5V) without ruining the battery is possible but significantly shortens it’s lifetime. One more thing to mention is the different voltage level of the battery, fully charged it completes at 14.4-14.8 Volts, a voltage the main generator is not capable of delivering, and also stresses the main battery which is not of the same type.

VW T4 Project – secondary battery – absorbent glass mat 80Ah
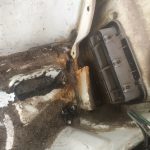
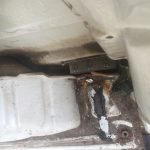
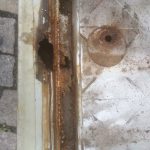
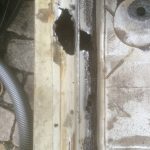
To trigger the relay to wire the two batteries in parallel only when the main generator provides at least 13.9 Volts (or up to 14.3V depending on headlight or fan status) I searched for a suitable D+ wire in the central electric. D+ is a signal provided by the generator, which provides 0V while the ignition is off. If the key gets inserted and turned until all lamps turn on, but the motor isn’t started yet it should provide about and below 10Vs. Only if the charging regulator of the car has been triggered which usually happens when the number of revolutions hits above 2000 it should provide the Voltage of the generator. Took me several hours to find the right cable, because for some reason all light blue cables (which should have this properties according to my sources) didn’t behave as expected. Finally I found a dark blue and black striped not used cable of the relay board as you can see in the pictures below:
-
- VW T4 Project – secondary battery – central electric
-
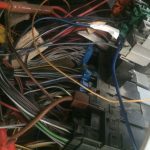
- VW T4 Project – secondary battery – central electric – back
-

- VW T4 Project – secondary battery – not D+ but behaving like it
Controlled Discharging
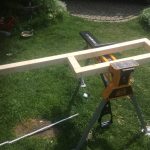
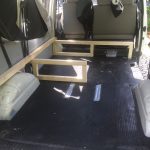
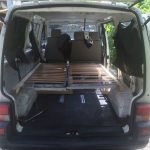
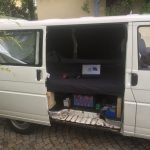
At this point the secondary battery gets charged while driving, but there was no way to plug any 12-14V devices to a car lighter jack. Therefore I built one:
-

- VW T4 Project – secondary battery – wooden constuction between front seats
-
- VW T4 Project – secondary battery – wooden constuction between front seats switched on
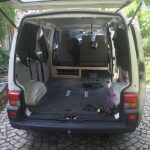
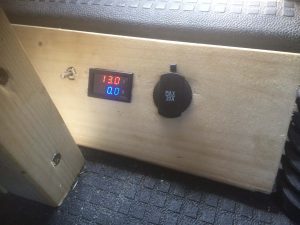
Avoiding deep discharge I planned to use a battery guard device which turns of discharging when a certain amount of voltage gets undershot for a certain amount of time. Unfortunately my absorbent glass mat battery is incompatible to most of these devices as its half capacity voltage is much higher than that of usual car batteries. I found a programmable device that sadly arrived broken and therefore couldn’t be added to the current setup. To oversee the voltage and discharging current at least somehow, I’ve added an digital volt and ampere meter and wired it including an switch to turn it off at night:

VW T4 Project – secondary battery – back wiring
As you can see it uses a shunt to – lets say guess – the current drain. Furthermore I’ve added an 20A fuse. I used a piece of electric cooker wire and fused two pairs of wiring harness together to increase wiring diameter and prevent voltage drop. The third harness is left unused.
For now this setup allows to use my laptop which drains about 10 Watts on power-safe mode for 10 hours per 100 kilometers driven distance. This of course gets limited by the size of the generator, driving style and battery capacity.
Anyways, this setup somewhen will be supplied by a solar panel to charge the battery to full capacity in summer by the sun, and charge it at least a bit by the generator in winter. Keep in mind that solar power and decoupling relay in combination with an absorbent glass mat battery could not be used in parrallel due to the different voltages of main generator and full capacity agm battery.