Tag Archives: CubieTruck

Synchronize the time in ROS offline environments without chrony

As our [amazon &title=CubieTruck&text=CubieTruck] is faced with strange issues when using chrony and internet access is not a general prerequisite on ROS setups, i needed to figure out a new way to synchronize the time with no internet ntp server available. For some reasons, even my local ntp was broken, which is why I try to set the time according to the ros master on all clients by this simple bash command:

ntpdate `echo $ROS_MASTER_URI | grep -oE "b([0-9]{1,3}.){3}[0-9]{1,3}b"`

it simply extracts the IPv4 part of the $ROS_MASTER_URI environment and uses ntpdate to set the time on the excecuting client system.

In case you only want to know the exact time derivation consider using the ntpdate parameter -q which only emulates the request.

Using Chrony on CubieTruck

Don’t.

Unless you really know what are you doing.

To synchronize the clock and fix a minimal time shift I was detecting, I followed the idea of the TurtleBot2 to use chrony to fix that Chrony is a little daemon that connects to your linux clock or hwclock and detect shifts. For some reason this lead to total chaos on the amosero.
I suppose chrony hasn’t been build for multicore dynamically speeded processors like the A20, which is why the shifting has been erratic and up to 2 seconds per minute.

sudo apt-get remove chrony

Fixed all timing errors on the [amazon &title=CubieTruck&text=CubieTruck]. Also it’s a bit disturbing how little changes can inflict complex setups.


Sketch him up!

Today I am trying to setup all parts of the coming robot. Because assembling and disassembling would take hours until finding the right configuration and saving steps in between it would be impossible – I thought of a better way. Using my shopworn SketchUp skills and way more time than I expected – finally there is a non perfect but practicable model with the most important parts that are going to be installed. All of them already have the correct physical dimensions which also means that it would be possible to deploy the robot in rviz later, or at least parts of it.

Here are some early stage impressions:

CubiBot1

concept phase: iso view

The wireframe boxes are space required by usb plugs or power jacks. These need to be accessible and can’t be blocked by anything else.

This robot is not ready yet, everything needs to be rearranged and boxed soon. Some parts are still missing, and no cables are shown, so everything will be more packed than it looks like.

Ultrasonic Sensor HC-SR04 as a ROS Range publisher

I’ve taken a HC-SR04 like shown below and connected it to the CubieTruck as a rosserial publisher.

IMG_20140512_114741


Instead a of a simple std_msgs::String str_msg;  I’ve implemented a sensor_msgs::Range range_msg; which after starting the arduino in ros with rosrun rosserial_python serial_node.py /dev/ttyACM0  shows up in rostopic echo /ultrasound like this:

---
header: 
  seq: 136
  stamp: 
    secs: 1400706588
    nsecs: 709593997
  frame_id: ultrasound
radiation_type: 0
field_of_view: 0.10000000149
min_range: 0.0
max_range: 4.0
range: 1.18762886524
---

So with that, its possible to visualize everything using rqt_plot:

ScreenshotROSUltraSound

which is pretty nice for my first arduino micro ros project and less than an two hours of work 🙂

For further information see here


Howto use CubieTruck and NetworkManager to do WPA2 Enterprise TLS

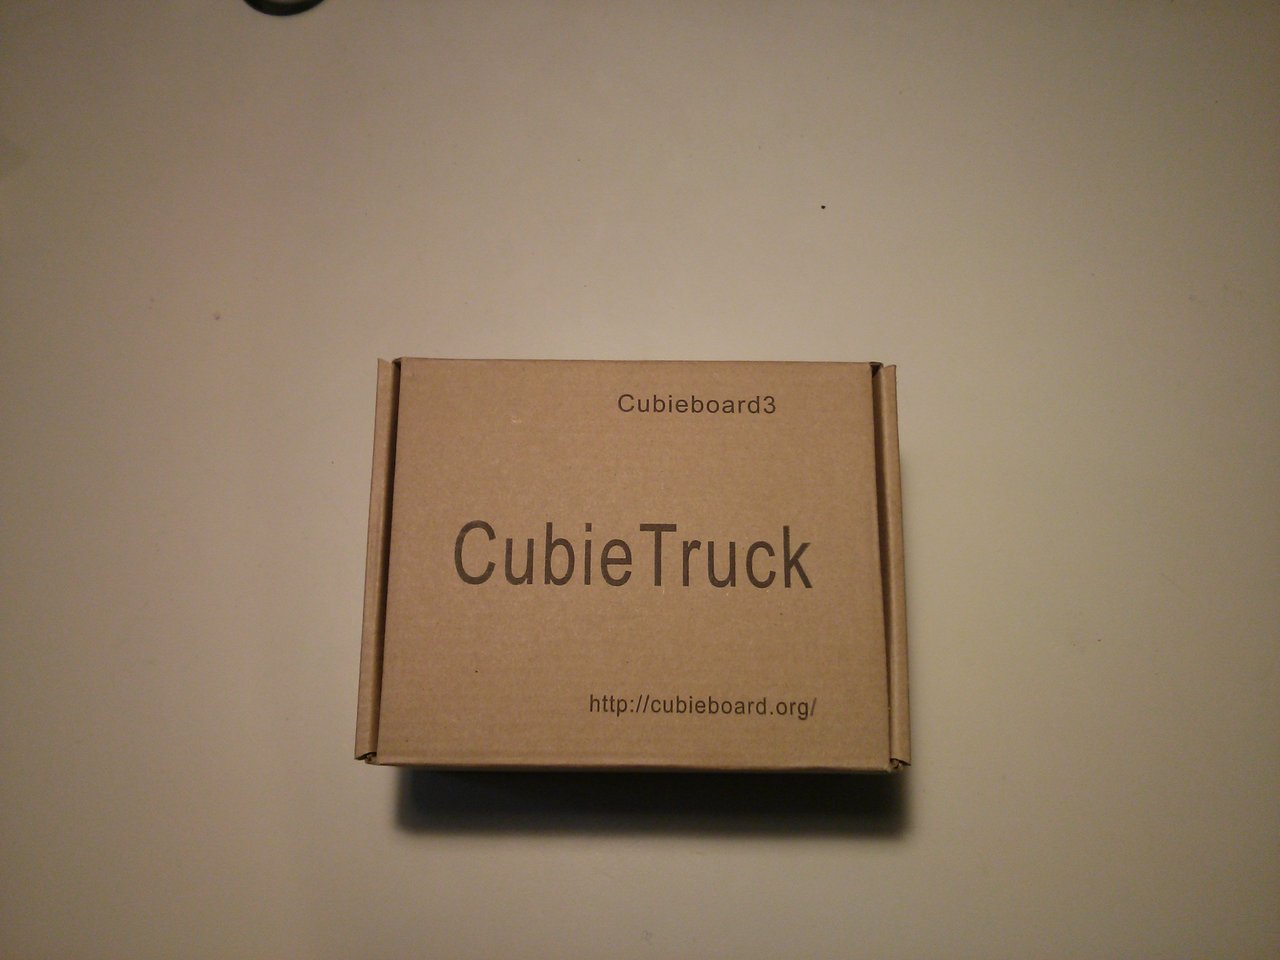
Last days the [amazon &title=CubieTruck&text=CubieTruck] made me struggle with its Network behavior. It continuously refused to connect to any WLAN, didn’t allow the Usage of the NetworkManager GUI, and confused me a lot.

Some things that might help you:

Wlan isn’t enabled by default – or at least it wasn’t for me.

Load the driver

modprobe bcmdhd

In case you don’t want to do that everytime the [amazon &title=CubieTruck&text=CubieTruck] needs wifi consider adding a new line with ‘bcmdhd’ (no quotes) to /etc/modules

I needed to install the linux firmware:

sudo apt-get install linux-firmware -y

and reboot

sudo reboot

3. bring the wlan0 device up and scan if your wlan is available

sudo -i #get root 
ifconfig wlan0 up
iwlist wlan0 scan

Check if the /etc/network/interfaces file looks something like that:

auto lo eth0
iface lo inet loopback

No additional lines, or the NetworkManager will struggle with your devices, showing them as “not managed” or “disconnected”.

So by default lubuntu 13.04 image, no Network manager has been running by boot, so I’ve fixed that by adding following line to my /etc/crontab:

@reboot /usr/sbin/NetworkManager

(sure there are other ways – especially because it’s a system service)

So after reboot – using the [amazon &title=CubieTruck&text=CubieTruck]-GUI its faces you with a “Network Manager not running”.

Screenshot[amazon &title=CubieTruck&text=CubieTruck]

So the small Icon on the taskbar isn’t able to find the network manager.
I could not fix that other than by opening an LXTerminal and:

sudo killall nm-applet && sudo nm-applet

which leads me to a nice WLAN GUI and made it possible to use WPA2 Enterprise with TLS 🙂

Howto control CubieTruck onboard LEDs

Today I wanted to know, what this little blinking lights on my [amazon &title=CubieTruck&text=CubieTruck] mean.

There are four, which you find out if you use:

root@cubietruck:/# ls /sys/class/leds/

blue:ph21:led1 green:ph07:led4 orange:ph20:led2 white:ph11:led3

(or just look at it while it is running, usually it blinks a lot)

IMG_20140520_123004

So if you want to know what each blink means you can ask the [amazon &title=CubieTruck&text=CubieTruck] like that:

root@cubietruck:cd /sys/class/leds/
root@cubietruck:/sys/class/leds# ls
blue:ph21:led1  green:ph07:led4  orange:ph20:led2  white:ph11:led3
root@cubietruck:/sys/class/leds# cat green:ph07:led4/trigger
none rfkill0 battery-charging-or-full battery-charging battery-full battery-charging-blink-full-solid ac-online usb-online [mmc0] mmc1 timer heartbeat cpu0 cpu1 default-on rfkill1 rfkill2 
root@cubietruck:/sys/class/leds# cat blue:ph21:led1/trigger
none rfkill0 battery-charging-or-full battery-charging battery-full battery-charging-blink-full-solid ac-online usb-online mmc0 mmc1 timer [heartbeat] cpu0 cpu1 default-on rfkill1 rfkill2 
root@cubietruck:/sys/class/leds# cat orange:ph20:led2/trigger
none rfkill0 battery-charging-or-full battery-charging battery-full battery-charging-blink-full-solid ac-online usb-online mmc0 mmc1 timer heartbeat [cpu0] cpu1 default-on rfkill1 rfkill2 
root@cubietruck:/sys/class/leds# cat white:ph11:led3/trigger
none rfkill0 battery-charging-or-full battery-charging battery-full battery-charging-blink-full-solid ac-online usb-online mmc0 mmc1 timer heartbeat cpu0 [cpu1] default-on rfkill1 rfkill2 

So by default the

  • green LED is indicating if there is any read write with the SD Card
  • blue LED is heartbeating
  • orange LED is CPU0 load
  • white LED is CPU1 load

In case you want to turn off the LEDS, use this code:

# turn off LEDs
echo 0 > /sys/class/leds/blue:ph21:led1/brightness
echo 0 > /sys/class/leds/green:ph07:led4/brightness
echo 0 > /sys/class/leds/white:ph11:led3/brightness
echo 0 > /sys/class/leds/orange:ph20:led2/brightness

See here for more information.

Howto use CubieTruck and tightVNCserver

VNC is a nice tool for remote desktop administration. But like a lot of things, it doesn’t work out of the box on the [amazon &title=CubieTruck&text=CubieTruck].

After installing the tightvncserver with

sudo apt-get install tightvncserver

I started and configured the server with

tightvncserver

and tried to login to [amazon &title=CubieTruck&text=CubieTruck]IP:5091 I got a grey screen and nothing more happend. So I suppose thats a blank X instead the Lxde I expected.

So tighvnc server has a small script thats executed after you login with vnc to a server, it is located at ~/.vnc/xstartup and contains by default something like that:

#!/bin/sh

xrdb $HOME/.Xresources
xsetroot -solid grey
#x-terminal-emulator -geometry 80x24+10+10 -ls -title "$VNCDESKTOP Desktop" &
#x-window-manager &
# Fix to make GNOME work
export XKL_XMODMAP_DISABLE=1
/etc/X11/Xsession

So the VNC really starts a Xsession.. simply comment the last line out (use a #) and add this:

/usr/bin/lxsession -s Lubuntu -e LXDE

Now it should be possible to use a vnc viewer of your joice – like remmina and connect to your [amazon &title=CubieTruck&text=CubieTruck] using the 5901 port:

Screenshot - 13.05.2014 - 20:09:21


Howto get a CubieTruck WLAN working

Note: Please see the new version of this post

For some reason the WLAN of the [amazon &title=CubieTruck&text=CubieTruck] didn’t work out of the box. So to save you the day I spent to get it working I wrote this little step by step tutorial:

1. load the wlan driver by typing

modprobe bcmdhd

in case you don’t want to do that everytime the [amazon &title=CubieTruck&text=CubieTruck] needs wifi consider adding a new line with ‘bcmdhd’ (no quotes) to /etc/modules

2. install linux-firmware

sudo apt-get install linux-firmware -y

and reboot

sudo reboot

3. bring the wlan0 device up and scan if your wlan is available

sudo -i #get root 
ifconfig wlan0 up
iwlist wlan0 scan

4. add this wlan to your connection configuration file (replace yourSSID and yourPasswd accordingly)

sudo -i #get or stay root
wpa_passphrase yourSSID yourPasswd >> /etc/wpa_supplicant.conf

5. add following lines to /etc/network/interfaces

auto wlan0
iface wlan0 inet dhcp
wpa-conf /etc/wpa_supplicant.conf

6. add DNS Information to /etc/resolv.conf (attention, we’ll use google in that example)

nameserver 8.8.8.8

7. restart networking to get changes to action

sudo service networking restart

If everything went well, your wlan0 device should have an IP when checking it with

ifconfig wlan0 

CubieTruck (CubieBoard 3) unboxing

The CubieTruck (or so called Cubieboard 3) is the third board of CubieTeam. It is a new PCB-Version with a Allwinner A20 Chip, which has also been used in the CubieBoard 2. But now there is more RAM (2GB) and onBoard VGA-graphics Controller, onBoard Wifi (!) and BLuetooth. There are some more features mentioned below, but for my project the main advantages are: more processing power (2 stronger cores), lower power consumption (500mAh at 5V), lots of GPIOs (2mm!) and flash memory.

So I unboxed one today:

It came with an android os flashed. So after some reading and kinda confusing tutorials I managed to get the correct version 13.04 of lubuntu server running on a sd card, installed ROS on it and was faced with some kind of paradies of ros hydro armhf packages!
Something I was really missing at the [amazon &title=Raspberry Pi&text=Raspberry Pi].

So after the first day of CubieBoard I am really looking forward to get this little fellow beeing the heart of my ROS Robot.

Features:

  • Allwinner Tech A20 SOC
  • SATA supported
  • 54 extended pins
  • Built-in HDMI/ VGA display interface
  • Built-in WIFI+BT module
  • 2GB DDR3 RAM
  • Built-in IR receiver
  • SPDIF audio interface

Specifications:

  • Allwinner Tech SOC A20 ARM® Cortex™-A7 Dual-Core ARM® Mali400 MP2 Complies with OpenGL ES 2.0/1.1
  • 2GB DDR3@480MHz
  • HDMI&VGA 1080P display output on-board
  • 10M/100M/1G Ethernet
  • WIFI + BT wireless connection with antenna on-board
  • SATA 2.0 interface support 2.5’ HDD (for 3.5’ HDD, only need another 12V power input)
  • Storage solution NAND + MicroSD
  • 2 x USB HOST, 1 x OTG, 1 x SPDIF, 1 x IR, 4 x LEDs, 1 x Headphone, 3 x Keys
  • Power DC5V@2.5A with HDD support Li-battery & RTC
  • 54 extended pins including I2S, I2C, SPI, CVBS, LRADC x2,UART, PS2, PWM x2, TS/CSI, IRDA, LINEIN&FMIN&MICIN, TVIN x4 with 2.0 pitch connectors
  • PCB size 11cm *8cm*1.4mm

brace yourself more posts are coming

Today the new parts arrived, which is why there will be a lot of new posts soon.

There is a [amazon &title=CubieTruck&text=CubieTruck] in it, better stepper motors, a lot of sensors, tracks and wheels – so a lot of work in a box 🙂