Today I’ve got the chance to get my hands on a Leap Motion. As it uses depth information to track hands on a short range from the device and as there is a ros driver package existing for it, I hoped to get a 3D PointCloud. It costs about 80€ and could have been a cheap replacement for the [amazon &title=Xtion&text=Asus Xtion].
Unfortunately its not possible (yet?) – here is a very nice post why.
But it is fun anyways to get both hands tracked:
-
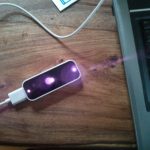
- LeapMotion – Infrared 1
-
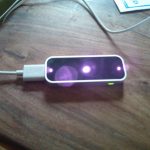
- LeapMotion – Infrared 2
-
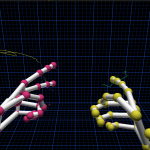
- LeapMotion – two hands, 10 fingers
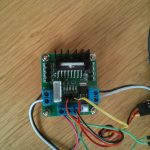
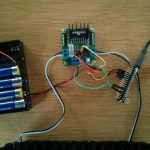
The ros driver interfaces ros with only one hand – but we could do something like shown below to control the amosero:
Later it would be a nice way to control a robot arm – but for now we leave that nice little device as there is a lot of other stuff to be done.