That’s one small step for a man, one giant leap for a small raspberry powered ROS robot.
Okay – maybe thats a bit too big – but I am in a good mood. I compiled the latest openni2_camera ros driver on the little arm cpu of the [amazon asin=B00LPESRUK&text=[amazon &title=Raspberry Pi&text=Raspberry Pi]]. Before that, I used the driver provided by kalectro (see source), which is an older fork but prepared for raspberry.
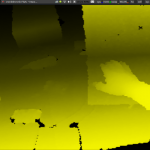
As a result of that, I’ve got some new features like the IR-Image stream I visualized with rviz :

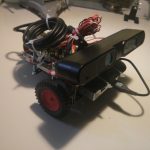
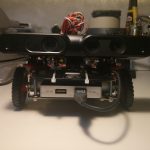
Raspberry Pi Robot with ROS
or the handy little parameter with which it is possible to skip some frames which reduces the load a bit:
set param name="camera/driver/data_skip" value="300"
rosrun openni2_camera openni2_camera_node
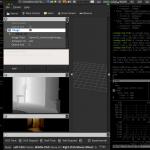
Now, running roscore on my laptop – I had some sensor_msg/Images I needed to convert into 3d depth data. After some little issues with faulty XML-launch files, I finally got openni2_launch up and running, which is a handy little launchfile using rgb_launch providing every data format you’ll can get out of the [amazon &title=Xtion&text=Asus Xtion].
roslaunch openni2_camera openni2.launch
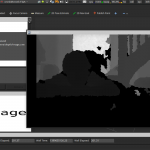
Now I’ve had a /camera/depth/points topic, with a pointcloud2 datatype. Which is really nice because rviz can visualize it:

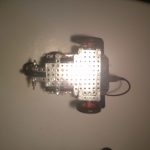
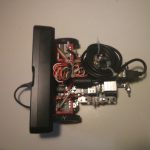
Raspberry Pi Robot with ROS – Xtion
Houston, we’ve had a problem.
Yes, there were times when it was possible to land on the moon by the power of a daily life calculator – but todays robots need more than that 🙂 So my aged Intel Centrino Core 2 Duo ASUS-F3J with 1,7Ghz each core isn’t able to do more than I reached today. It pops to 100% processing and after some time it collapses totally.
So todays lesson learned is:
Robots are distributed systems – by every measure.
So I’ll need more power.. again…